After seeing the
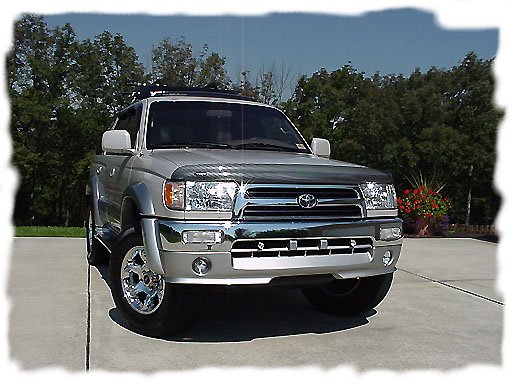
multi-reflector headlights, I had the itch to upgrade mine to the newer
style.
I NOW SELL THESE LIGHTS NOW AT A DISCOUNT
go here to purchase:
http://www.burtmanindustries.com.
The new headlights already come aimed from
the factory! Now all you need to do is plop them in.
To install the lights you first need to remove
the grille. Rather than try to unclip the grille from looking over on top,
look at it face forward. If you look at it at this angle and look underneath
the grille, you will see a series of lever like clips. You can use
a screwdriver and push down with it, and the grille will come off very
easily. You will be able to see the little tabs. If I remember correctly
there are 3 on the top, 2 in the middle and 3 on the bottom. You have to
put a constant light outward tension as you reach in and depress the tabs
or they will snap back in place. The trick is just getting the right tension--too
much and the tabs are hard to depress--too little and they snap right back
in the locked position. Inserting a toothpick after they are depressed
is a good trick.
Now once the grille is removed, you need
to remove the screws from the headlights. Next, you need to remove the
screw that holds the bottom metal sill plate. Instead of removing
the sill completely, you can swing it away from you to get to the hidden
screw behind it, which also holds the headlight in place. Now install
the new lights in reverse order.

|
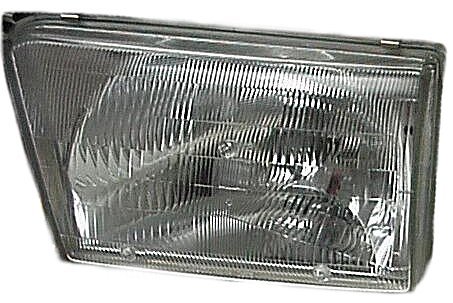
The older
style lens is a diffusion design which uses the lens to focus the beam.

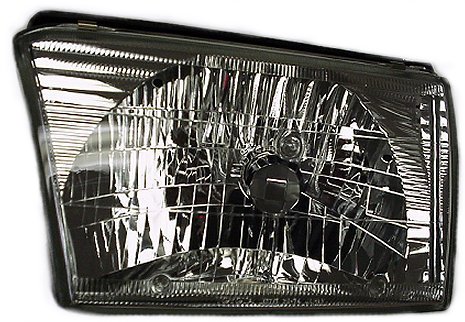
The new multi-reflector lights use a diamond
backing and the bulb fires into it's own housing. See below. This puts
the beam slightly off focus so it doesn't hit the other drivers line of
vision. After installing the lights, I noticed about a 15-20% improvement
over the old ones. They also look much better with the Piaa
Superwhites.


site created by Jason
Burtman (WebMaster)
|


